Hi Friends,
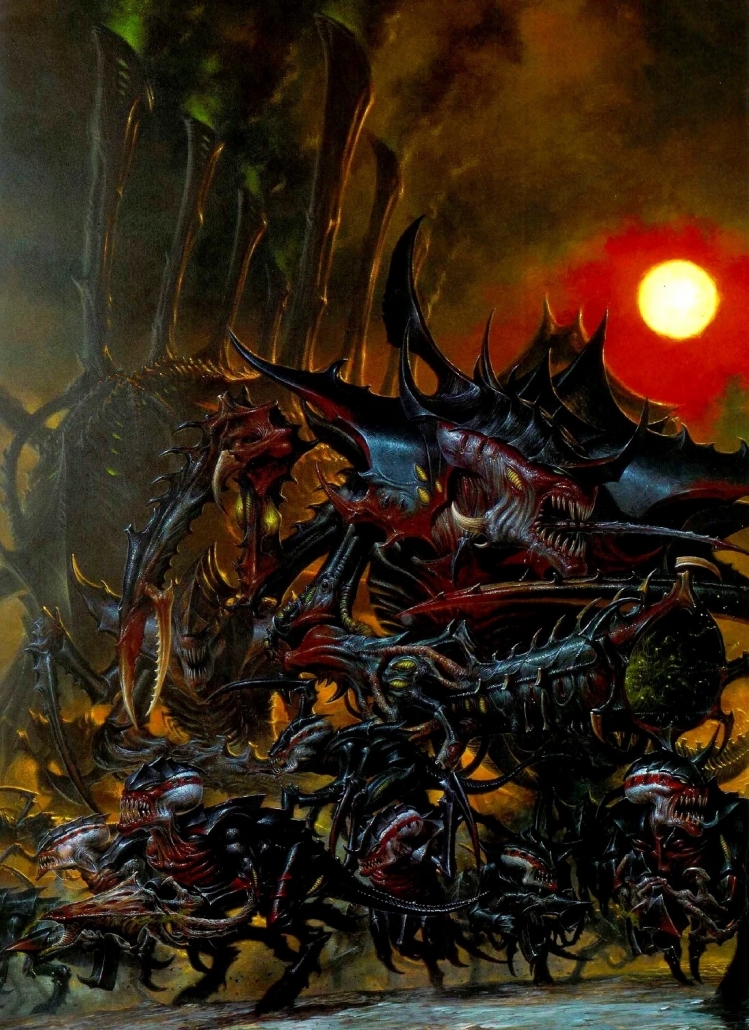
it’s been a long time since i’ve posted on these shores. Life got in the way, but now i’m happy to share a two-part tutorial where i will try my best to show how i’ve painted Tyranids with the beautiful color scheme depicted in the third edition codex:
Before anything else i think it’s due to publicy thank my customer, the person who actually commissioned me to paint the models and write this article: he decided that the tutorial would have been published on my blog, hence becoming free for the community!
He prefers to remain anonymus, so i’ll just write his Reddit nickname u/Autoxidation: thanks again for the generosity.
Now, the tut will be split into 2 parts:
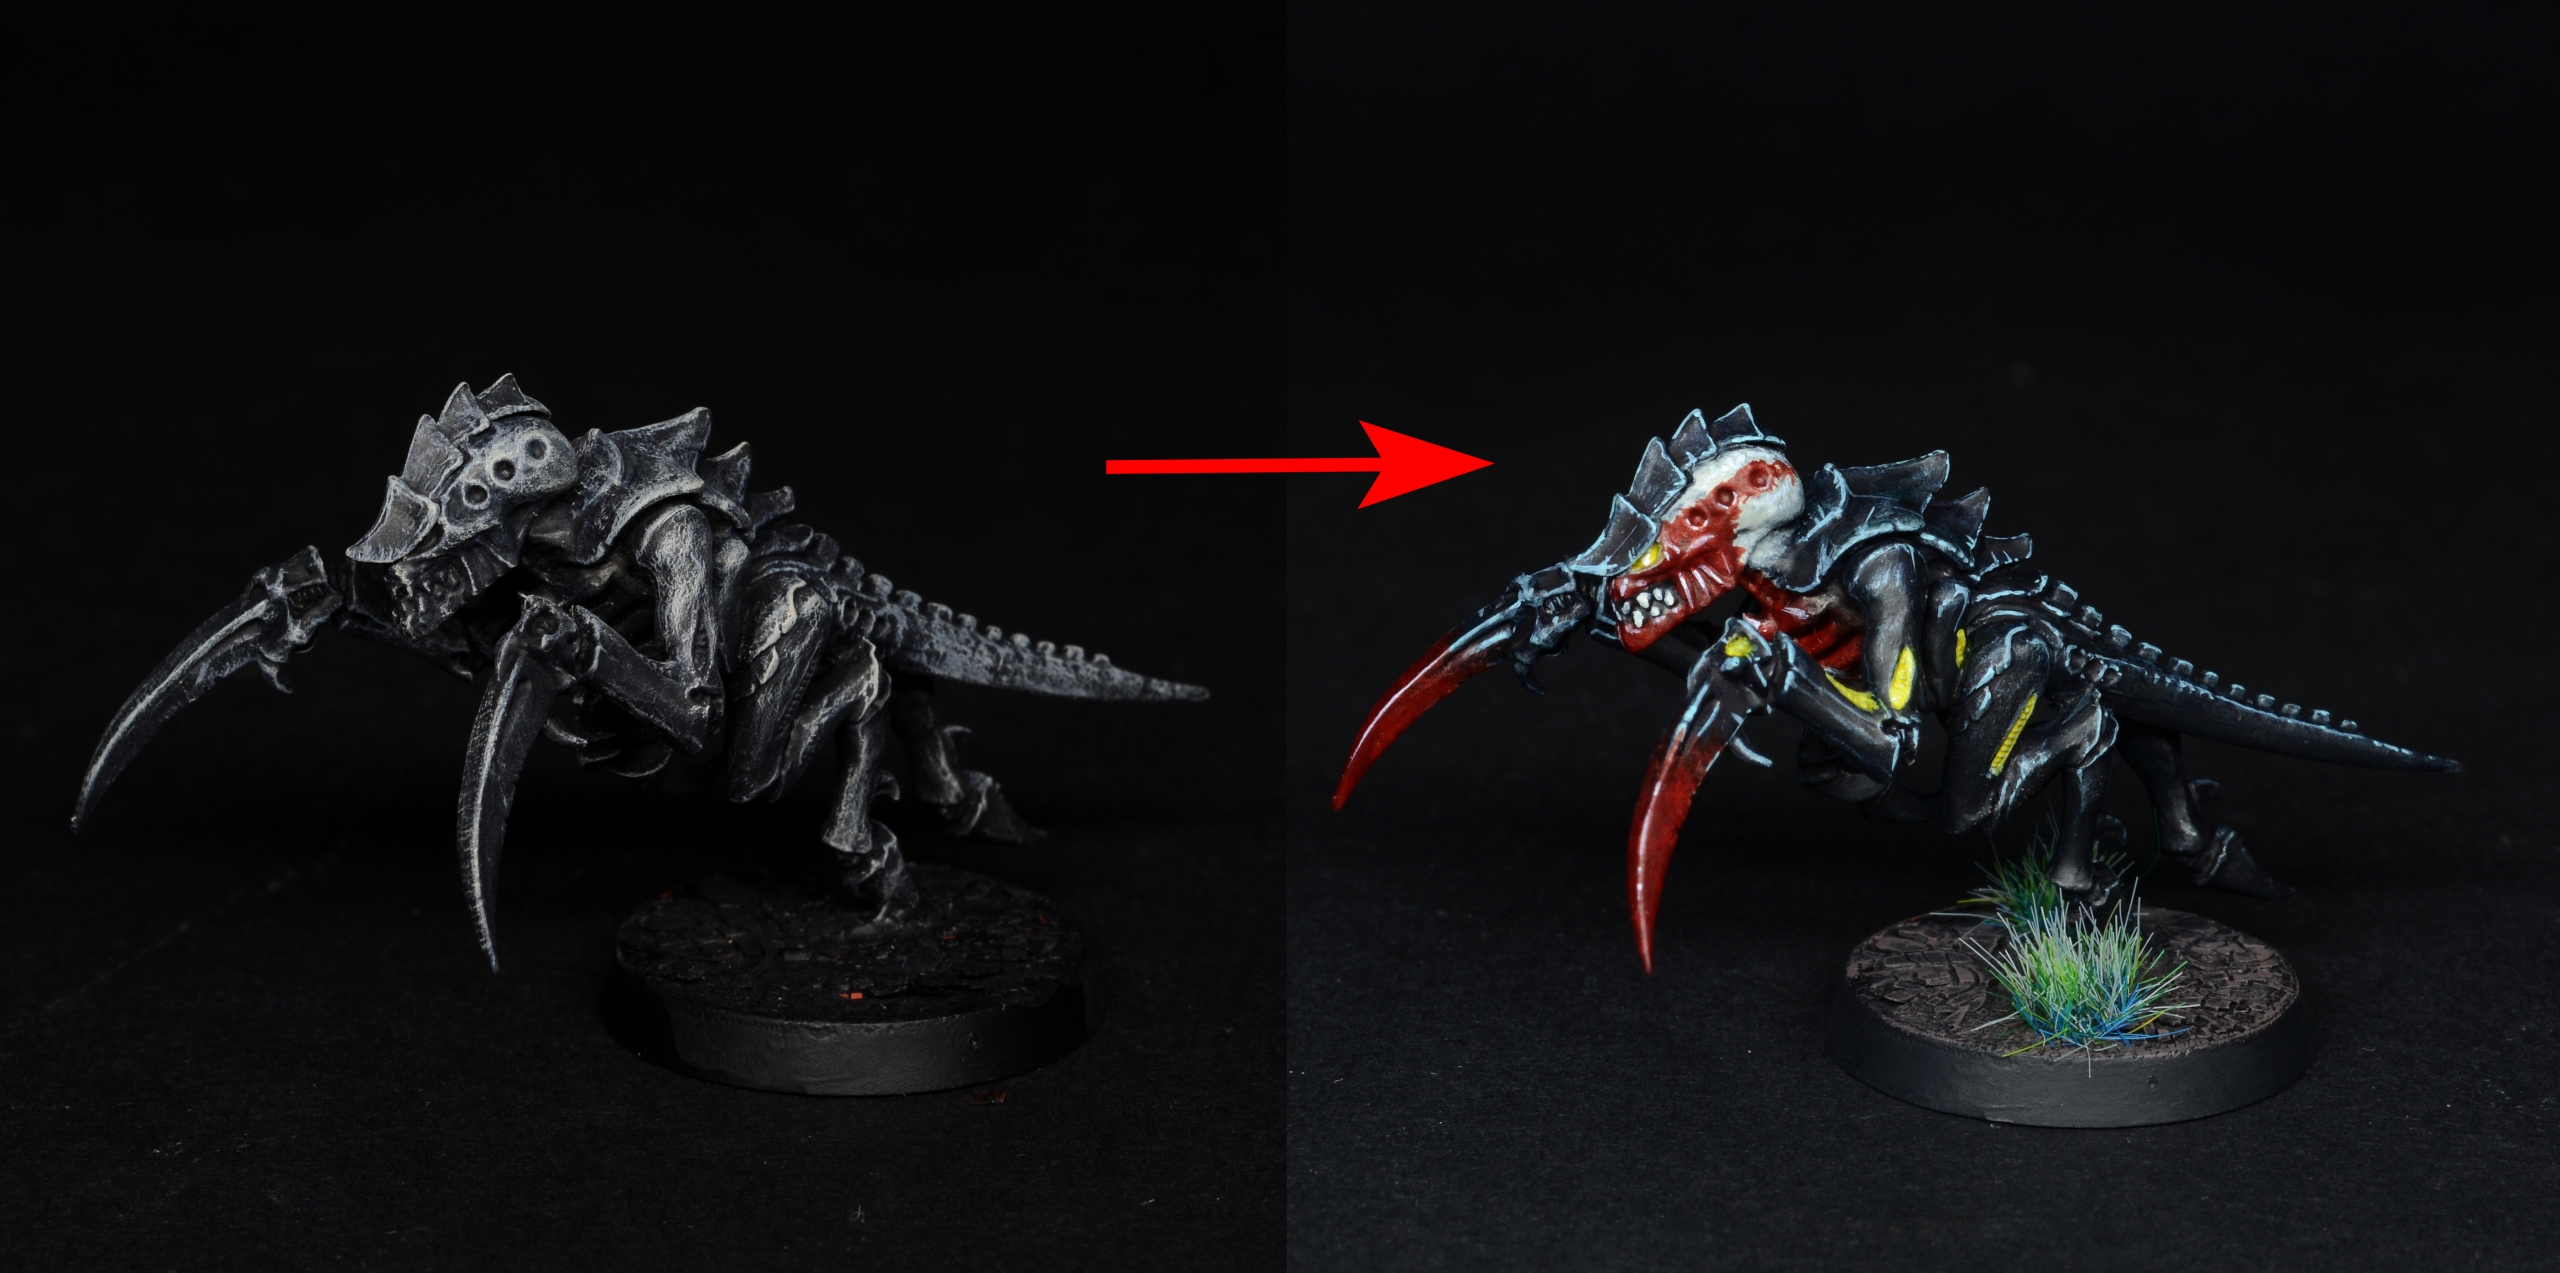
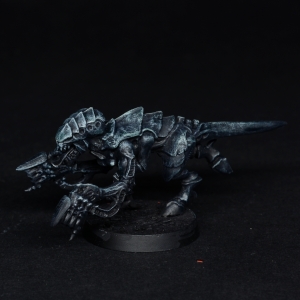
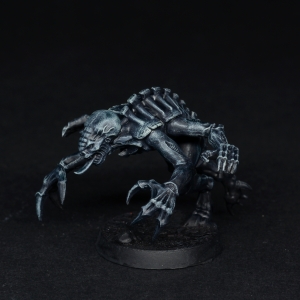
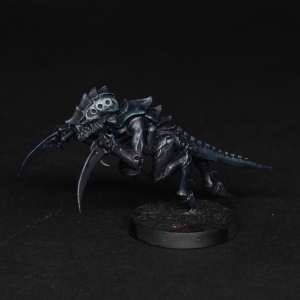
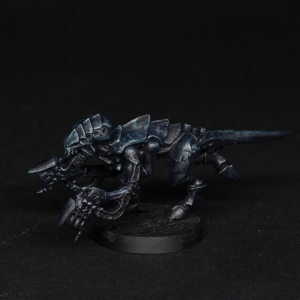
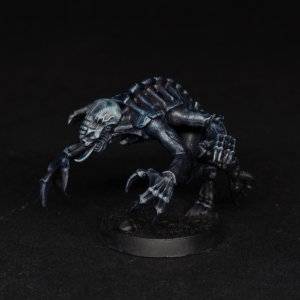
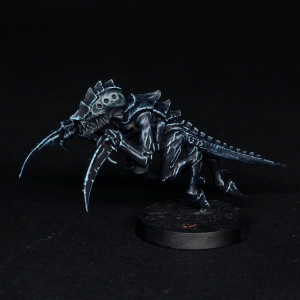
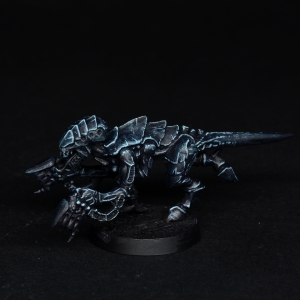
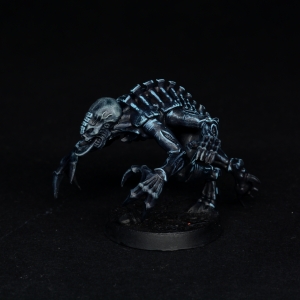
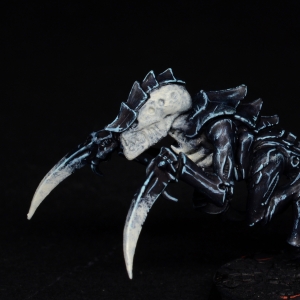
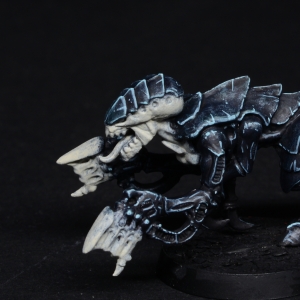
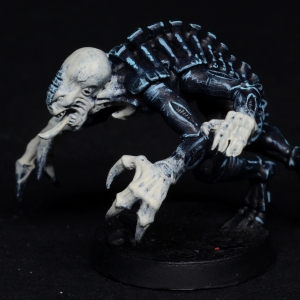
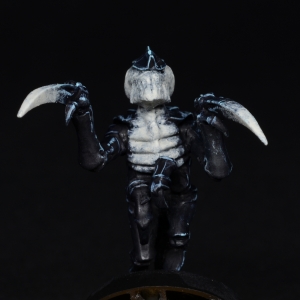
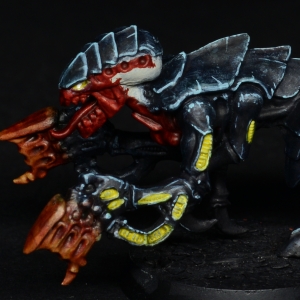
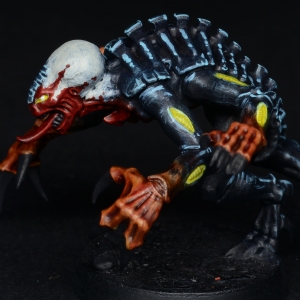
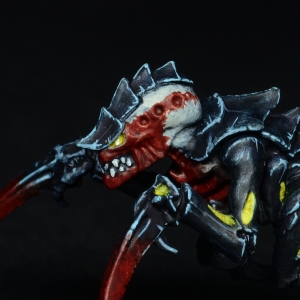
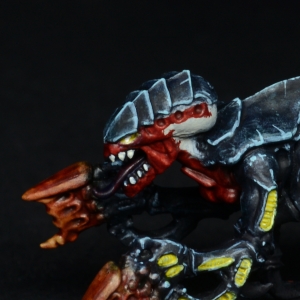
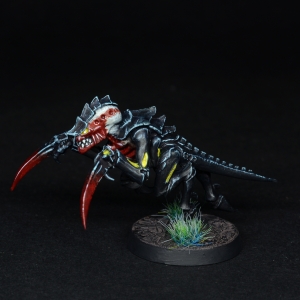
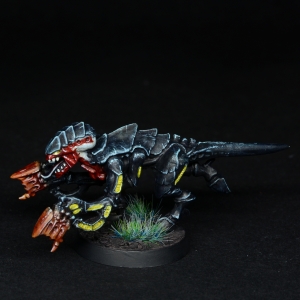
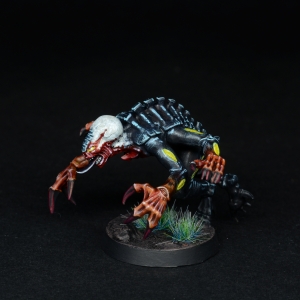
- this one, where i will show how i painted a Termagaunt, Hormagaunt and Genestealer at tabletop quality
- second part where i will paint a Warrior and Termagaunt at high tabletop quality
Let’s begin.
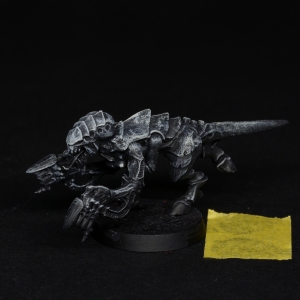
The first 3 models were assembled, based with GW Martian Ironheart, then spray primed with Gw Chaos Black and later brushed black all over again (i’m using AK Intense Black in this tutorial) to avoid differences in finish between primer-normal black.
Then, first step was a general drybrush using Ak Rock Grey, concentrating the strokes from above, sort of a “zenithal drybrush”:
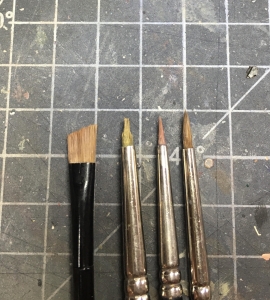
Below a picture with some of the brushes i use for this technique: first one is a flat, cheap makeup brush and it’s the one i’ve actually used for this step.
Then we have a very worn W&N series7 miniature brush (i encourage you not to trash old brushes, they can be used as smudge brushes or for a lot of other purposes), a medium-worn W&N miniature brush and a Rosemary series 93 size 2.
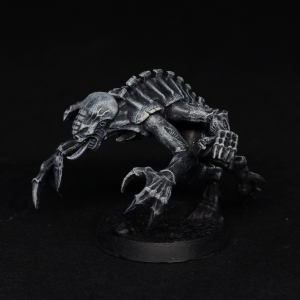
Second step was to wash the whole models in Gw Drakenhof Nightshade:
My goal was to follow the artwork and paint their body mainly black, with spot highlights of a blue-grey, so i decided to add another wash of GW Nuln Oil + a very small (less than 5%) quantity of AK Black, concentrating this time to the inside of the shapes and without touching the heads:
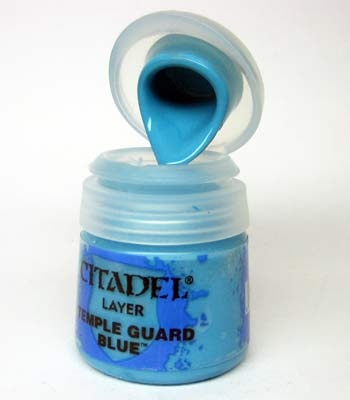
As you can see, the washes really helped to smooth the first drybrush, and now it was time to bring out the blue hue on the plates and body. I didn’t have a suitable color, so i mixed some blues, greens and grey for this step: the resulting mixture was something that could be similar to a GW Temple Guard Blue, at least judging from this image:
Below you can find the result. As you will see, i focused more on edge-highligting the plates and all edgy shapes, again leaving out heads, hands of the Genestealer and weapons of the Termagaunt:
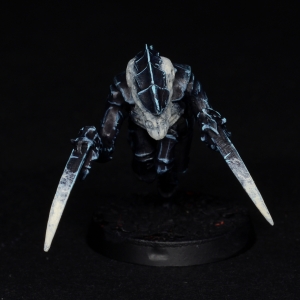
Next step was to apply a patchy layer of Ak Rock Grey to the heads and hands/weapons. In doing this i’ve used one of my old and worn brushes from W&N, stippling the paint on.
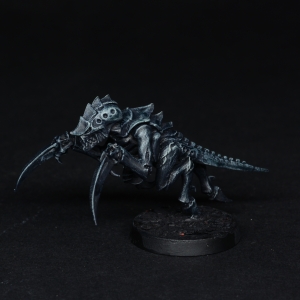
When the bristles are almost completely consumed, they act as smudge brushes. For example, notice how on the Hormagaunt blades this creates a sort of gradient:
The patchy color was also applied on the chest area, some pics from the Hormagaunt:
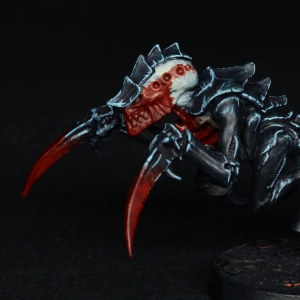
Next step: tinting these parts with GW Flesh Tearers Red. The contrast paint will work only on the pale areas leaving almost untouched the black-blue, hence creating a nice transition.
On the heads, i drew the same irregular red shapes visible in the 3rd edition artwork.
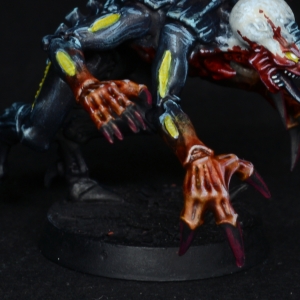
Important! A picture is missing here: the Genestealer’s hands and Termagaunt’s weapons received a first heavy layer of Gw Skeleton Horde, then Flesh Tearers Red applied irregularly. This was done in order to reproduce the fleshy, red-yellow look seen in the artwork.
(In the second part of the tutorial i will show how to improve this effect.)
I get asked often about Contrast paints, because i tend to use them in most of my paintjobs: they are no “magic wand” but indeed they work well. A couple of things i could suggest:
- once you cover an area with them, don’t stop until you complete it: otherwise you could notice some unpleasant stripes where you stopped the application
- “one thick coat” is okay with them, but it shouldn’t be overdone and it’s necessary to remove excessive pools of paint forming into recesses. Soaking them up with a brush is usually enough
- usually i paint them with medium-worn brushes because they tend to cake the bristles quickly; however it’s totally ok to use a new brush for detailed applications, e.g the Tyranids’ head where i drew some red shapes. Just remember to clean the brush quickly.
I will write a full article about my way of using Contrast paints as soon as possible, there’s lot to say.
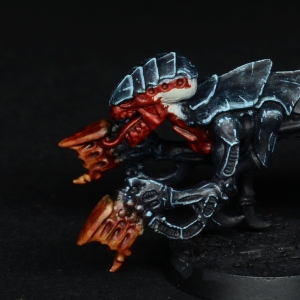
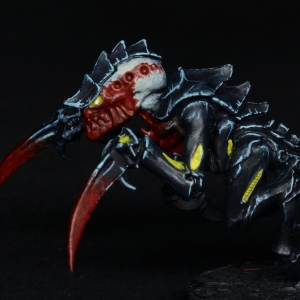
Back to the tutorial. Before completing the red areas, i moved to painting the yellows: eyes and those “fibrous” parts present on the limbs and joints.
They were covered with a couple layers of Ak Intense white. First layer very diluted – around 50-50 with water – in order to reach all the recesses, second one almost pure:
Afterwards, a layer of GW Plaguebearer Flesh. Once dried, the eyes received a pure white dot on top of it:
Important! At this point you might have noticed that, on the body and plates, some blue-grey edge highlights disappeared: after discussing with the customer we agreed they were too many, and i covered around 30% of them.
After this step i blocked the teeth and the Genestealer’s claws with black, then the formers were painted with white.
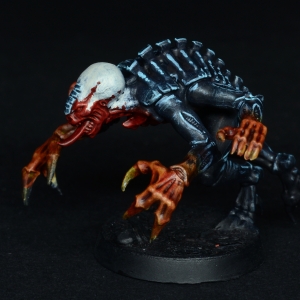
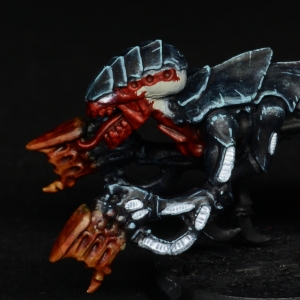
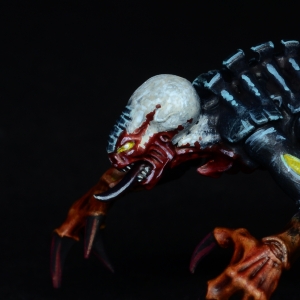
In addition, Termagaunt and Genestealer’s tongues received a layer of Gw Akhelian Green that, combined with the previous deep red, resulted in a nice, alien-purplish color:
The tongues received a thin highlight with Ak Rock grey and the Genestealers’ claw some edge highlights with AK Wine Red:
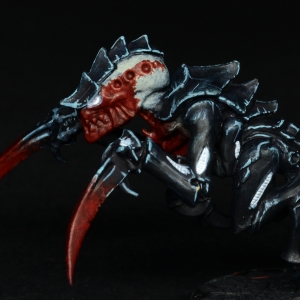
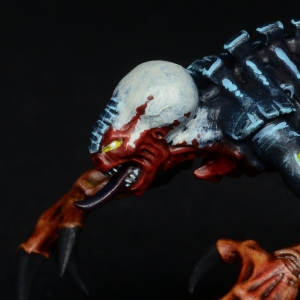
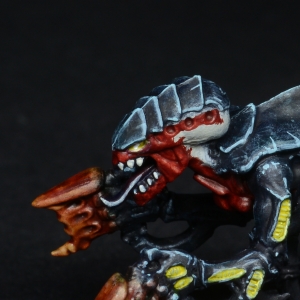
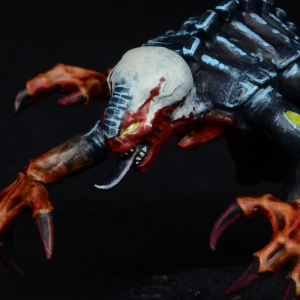
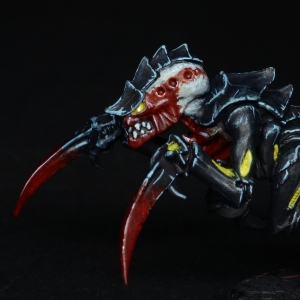
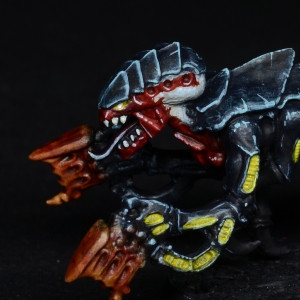
Then i placed some final, thin highlights on the read areas with AK Blue Grey, concentrating on the pronounced shapes (don’t forget the Hormagaunt’s claws!). Some Ak Blue Grey was also stippled on the heads (mostly visible on the Genestealer) to create a bit of highlight and texture:
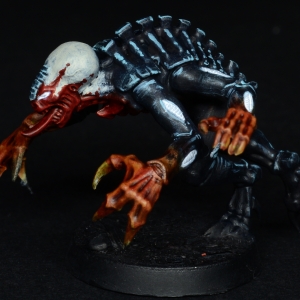
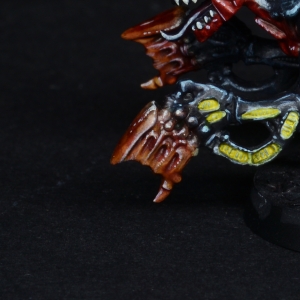
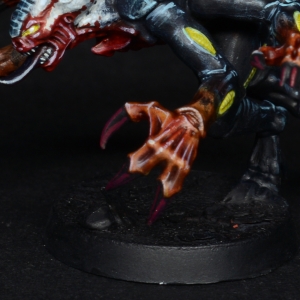
Last step was painting some highlights on the fleshy areas of the Genestealer and Termagaunt. Again, no need to highlight every shape, personally i concentrated on the most pronounced ones.
Also notice how in some places i painted dots instead of lines, to create some interest:
Finally, the bases were drybrushed with a color created mixing VMC Saddle Brown and VGC Heavy Blue. I wanted a cold and desaturated brown, something similar to Gw Gorthor Brown.
Be gentle in drybrushing the Martian Ironheart previously applied, otherwise some pieces will come off.
Finishing touch, some Alien Turquoise Tufts from Gamers Grass.
Base lids painted black, and the models are complete.
I really hope that this tutorial was useful and that it provided enough informations: let me know your opinion in the comments, and stay tuned for the second part!
Cheers,
Lorenzo

This is great stuff!
Thanks pal!
I know it’s been awhile for this article, but I feel that the green parts are unfinished. They look chalky probably due to bright green on top of bright white? Maybe thin down some mid/dark green wash, really diluted and apply to add some depth? Or go full on glow and use something like tesseract green, the necron glow effect to give a phosphorescent look
Thanks for the Tutorial. I paused the hobby for almost 20 years and remember that scheme from the old days. It’s great seeing how it’s coming alive on these minis.
Hi Jan,
i remember those halcyon old days too. Hope you’ll soon get back into the hobby. 😉